
QR Attendance field guide
Glance, act, verify. Use this on a phone while you set up scanning for the event. Demos stick on the right as you scroll each step.
What you will do
Open the Peak scanner, unlock the camera, choose a mode, complete one test scan (assign or check-in), and confirm the success screen.
Prerequisites
What success looks like
You finish with a green confirmation on the phone (band linked, or person checked in / out), and no error sheet blocking the camera.
Optional: organiser opens Peak to confirm roles / stations.
Open scanner → unlock camera → mode → test scan → confirm.
Step 1 of 5
Open the Peak scanner
On the scanning phone- Sign in to Peak on the phone browser.
- Open Tracking → Scanner (or your event’s scanner shortcut).
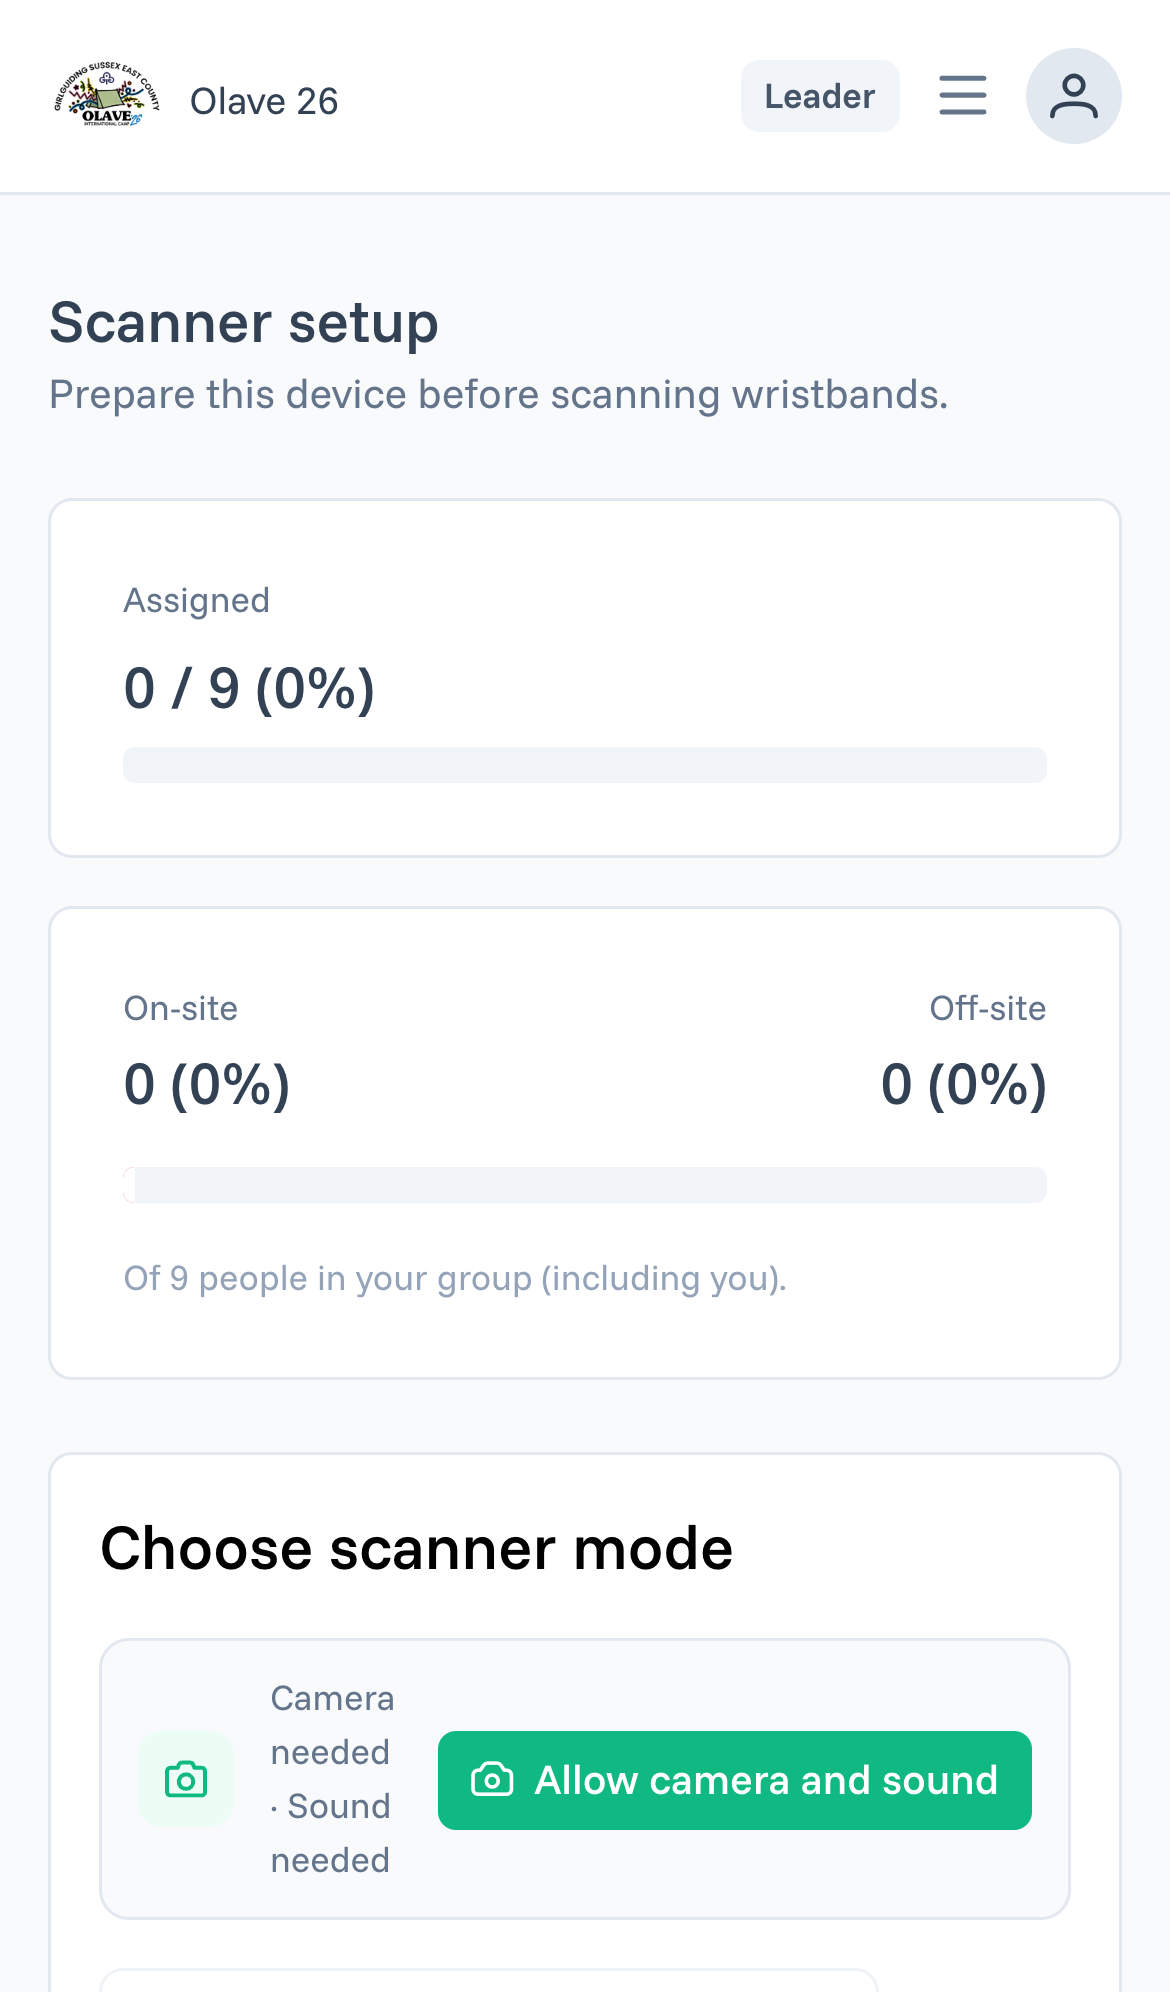
- You should land on Scanner setup.
More detail
Leaders may see group progress above the mode controls. Modes you are not allowed to use do not appear.
If you open Peak on a laptop by mistake, switch to the phone you will scan with.
Step 2 of 5
Unlock camera and sound
On the scanning phone- Tap Allow camera and sound.
- Approve the browser permission prompt.
- Wait until status shows Camera ready · Sound ready.
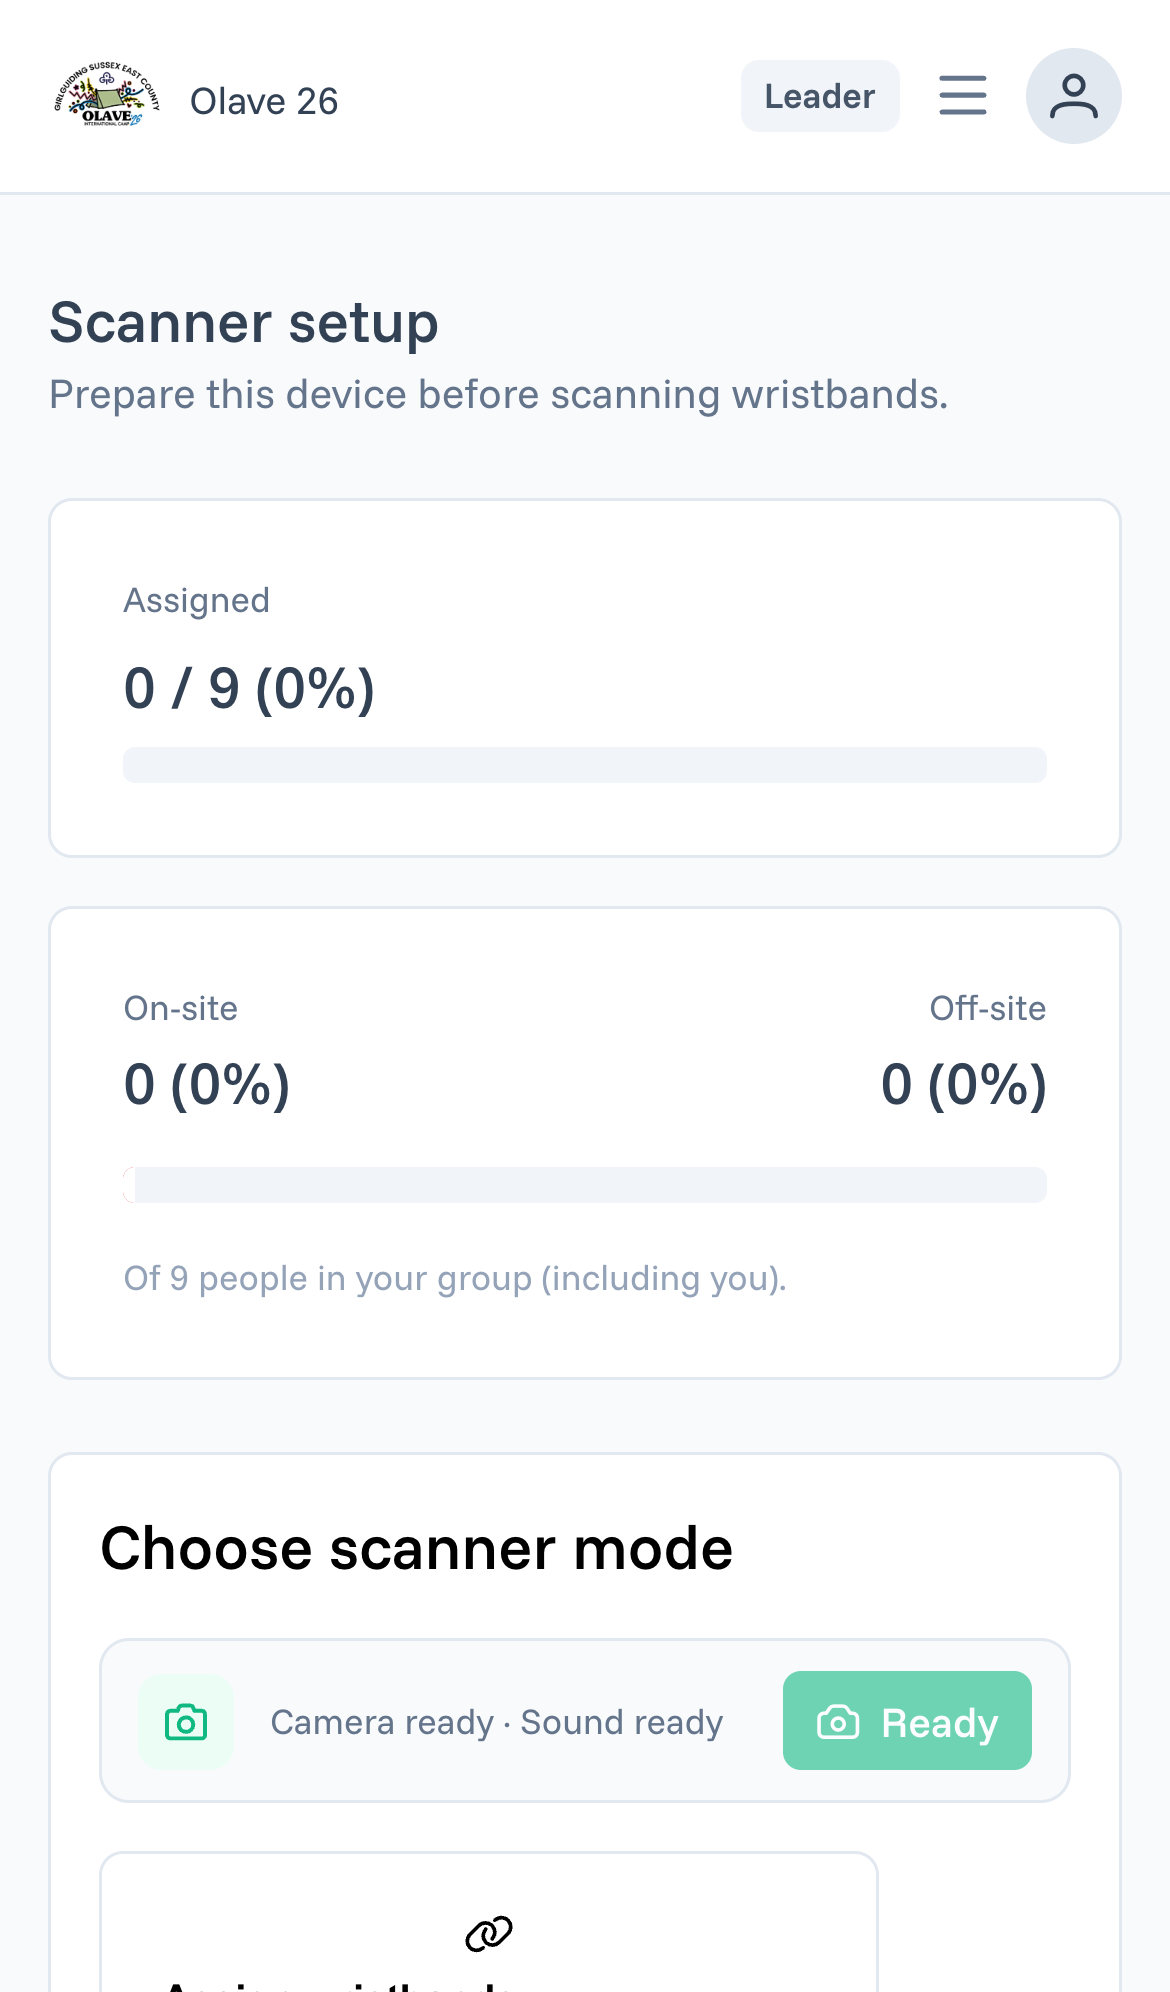
Site settings → Camera → Allow, then reload. On iPhone: Settings → Safari → Camera.
Step 3 of 5
Choose the operating mode
On the scanning phone- Pick the mode for this shift (only modes for your role appear).
- If you are on a gate desk, select the station / gate name.
- Tap Start / Continue into the camera.
- Assign wristbands
- Link blank Peak QRs to people.
- Station check-in
- Mark people on-site or off-site at a named gate.
- Profile lookup
- Read who a band belongs to (first aid / organiser).
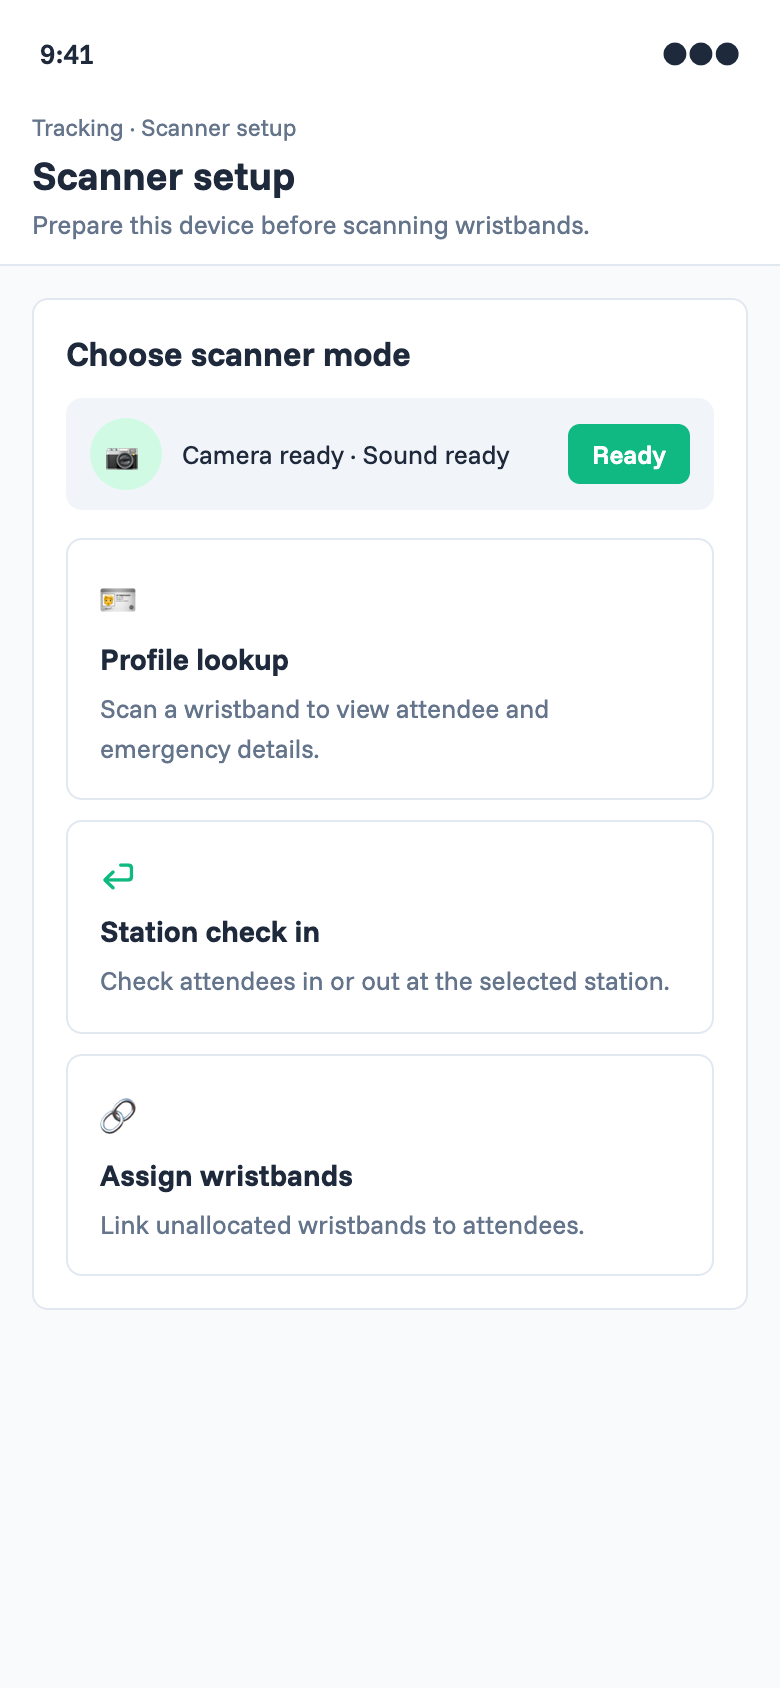
Stay in one mode for the shift. Assign blank bands in Assign — don’t check in unallocated bands at a gate.
Step 4 of 5
Test one scan
On the scanning phonePick the path that matches the mode you opened in Step 3. Demos for both paths stay on the right.
Path A — Assign a blank band
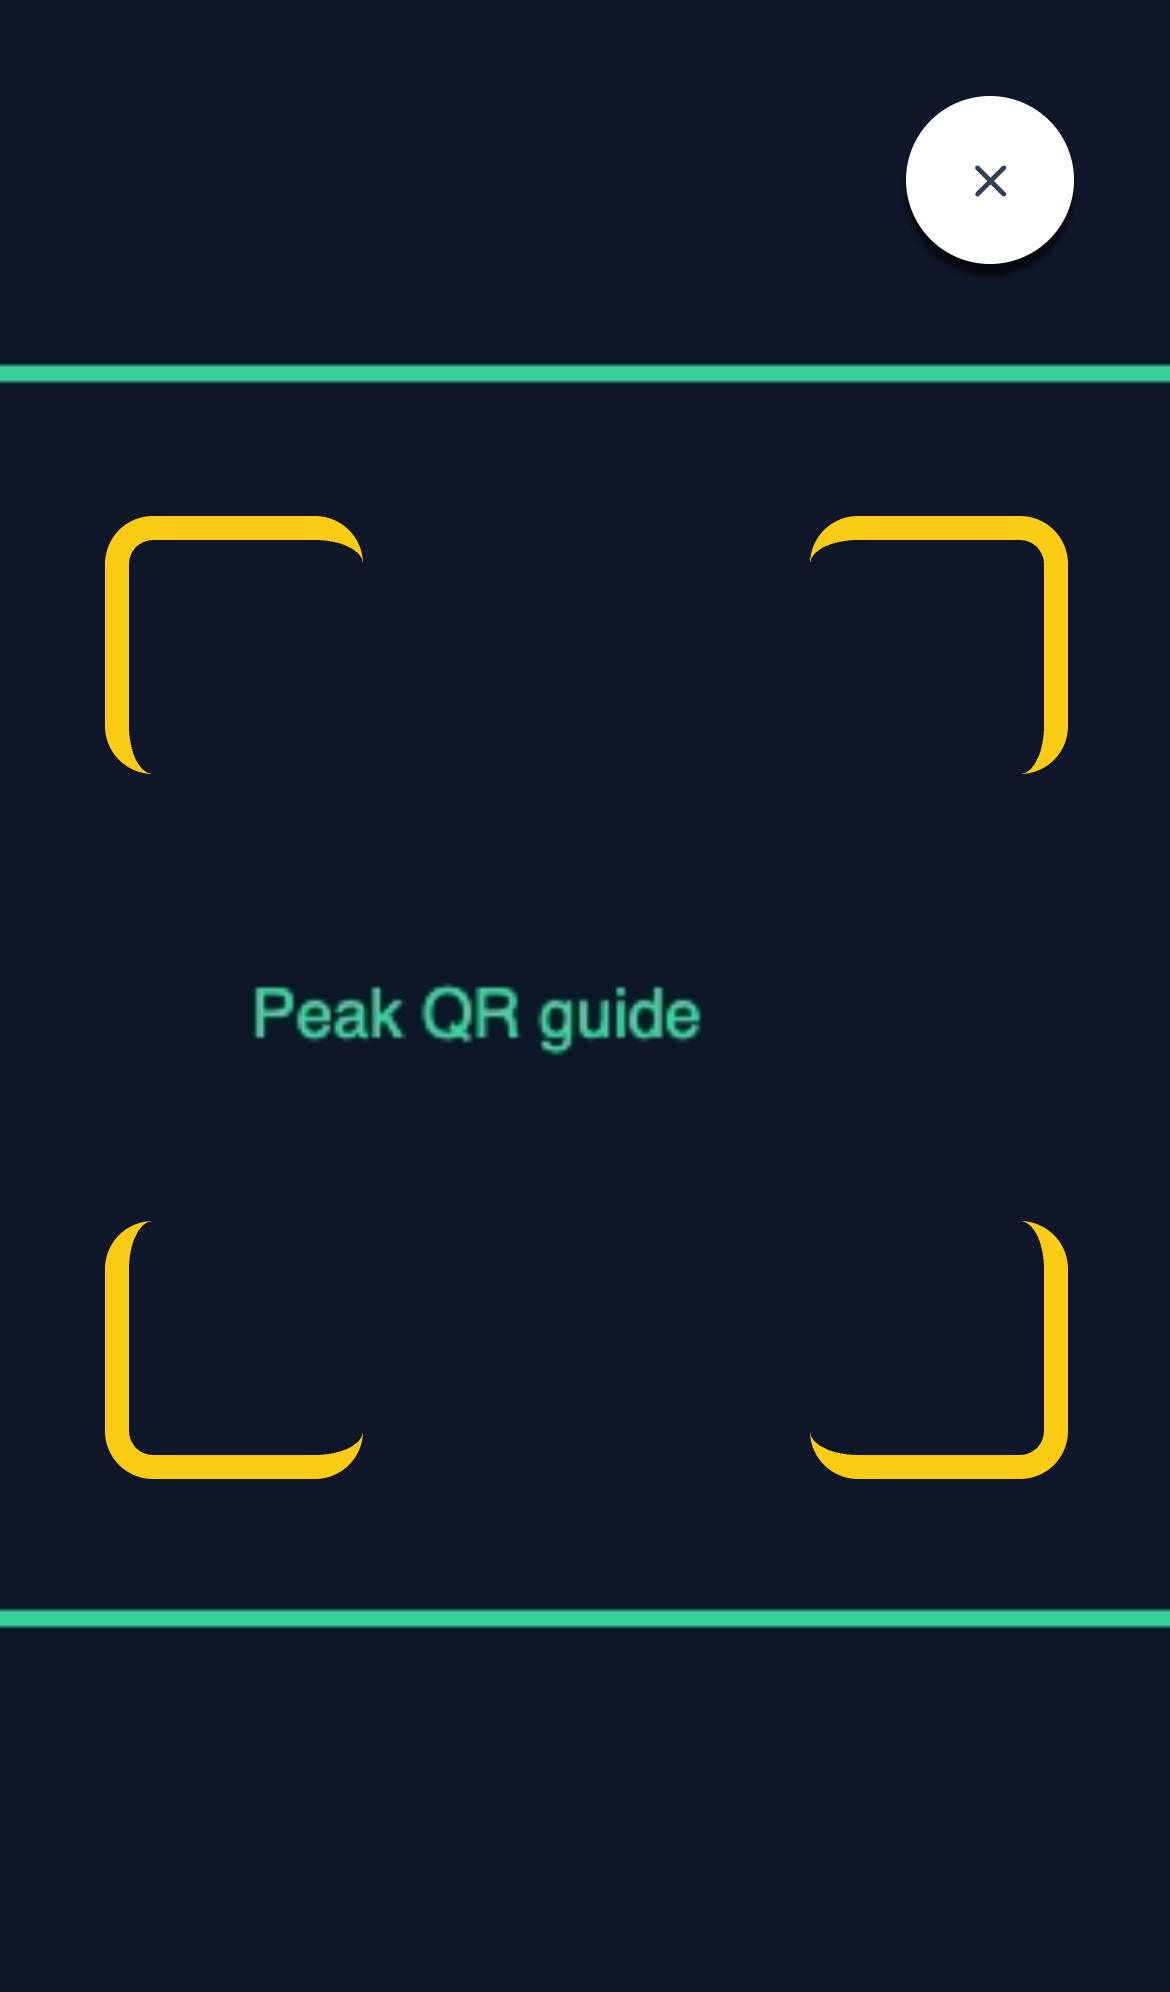
- Hold a blank Peak QR in the green guide until the hold ring completes.
- Search or pick the person, then confirm the link.
- You should see an assign success confirmation.
Path B — Station check-in
- Confirm the station name is correct.
- Scan an already assigned band.
- Confirm the check-in (or check-out) result sheet.
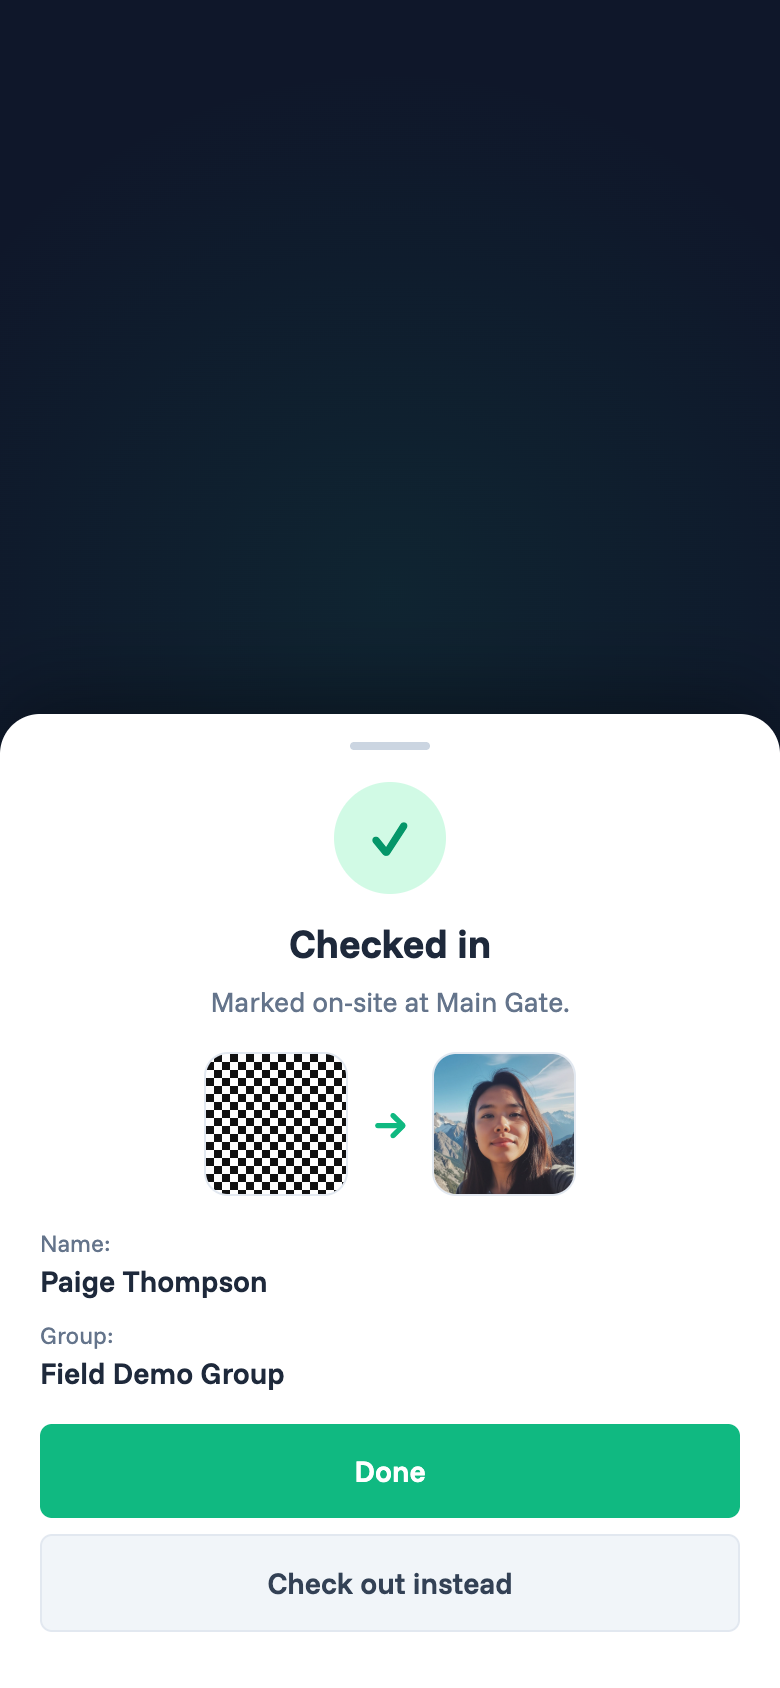
In Assign, use a blank band. If the person lost theirs, use Replace.
Step 5 of 5
Confirm the deployment
On the scanning phone Optional: web consoleCompletion checklist
Success state: green confirmation sheet, person’s name correct, and the camera ready for the next scan after you dismiss the sheet.
Back in the web console Organisers can open Tracking → Live Status / Event Log to verify the test scan.
Other tasks
Use these only when needed. Keep the main five steps for first setup.
Replace a lost or damaged band
- Start Replace from the person or from a scan that offers Replace.
- Choose Lost / Damaged (or matching reason).
- Scan a new blank Peak QR until Peak confirms.
Profile lookup / first aid
- Open Profile lookup (first-aid accounts often go straight to camera).
- Hold the band until Peak locks.
- Use View full profile when your role allows it.
Scanning tips
- Hold still for the ring — don’t snatch the band away early.
- One band in frame — keep other Peak QRs out of the guide.
- Rear camera, good light — keep the Peak tab open.
- Correct event bands — wrong prefix is rejected.
Troubleshooting
Organised by symptom. Fix the matching step, then resume.
Camera will not open / access denied
Related step: 2
Site settings → allow Camera → reload Scanner setup → tap Allow again. On iPhone also check Settings → Safari → Camera.
QR code is not recognised
Related step: 4
Not a Peak wristband URL, damaged print, or wrong event prefix. Try another band from this event’s stock.
Mode or station does not appear
Related step: 3
Your tracking role only exposes certain modes. Ask an organiser to confirm role / station is open.
“This wristband is already assigned”
Related step: 4 (Assign)
Use a blank band, or Replace for a lost band — don’t assign a second active band.
“Not allocated to your station”
Related step: 3–4 (Station)
Wrong gate selected, or the person isn’t cleared for this station.
Session expired / CSRF
Reload and sign in again. Common on shared devices after a long idle.
Get help
- Contact the event organiser or Peak ops lead for this site.
- Include: exact error text, mode, blank vs worn band, phone / browser, and a screenshot if possible.
- Note the time of the failed scan so they can check the Event Log.
Do not invent workarounds (sharing one phone across two gates, forcing a second band). Escalate with the details above.